What Are Diecast Model Car Kits?
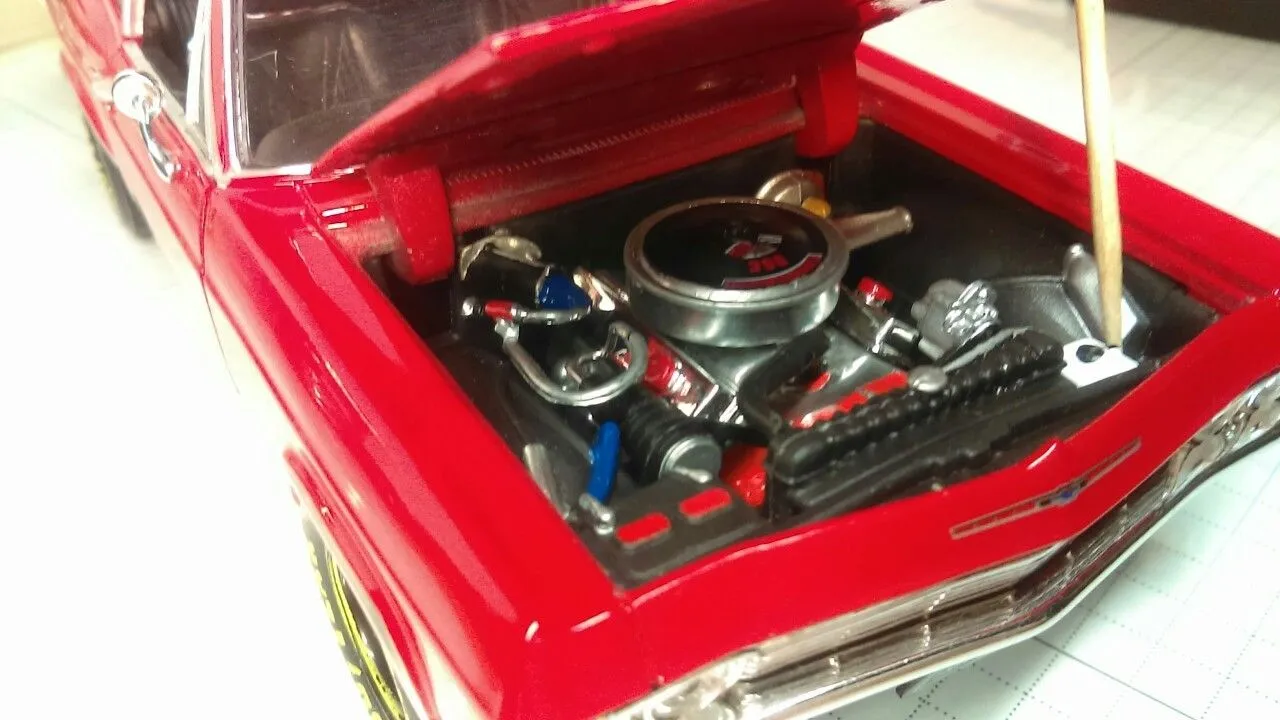
Diecast model car kits are meticulously crafted replicas of real-world vehicles, designed for enthusiasts to assemble from individual parts. These kits offer a hands-on experience, allowing builders to construct detailed models that capture the essence of their full-size counterparts. The term “diecast” refers to the method of manufacturing metal parts by injecting molten metal into molds. The process results in durable, high-quality components, which are a cornerstone of these model kits. Builders typically receive the kits with various components, from the body panels to the smallest interior details. These parts are made of diecast metal and plastic. They also require the use of tools like screwdrivers, glue, and paint to bring the model to life.
The Appeal of Building Diecast Cars
The appeal of building diecast model cars goes beyond a mere pastime, offering a satisfying blend of creativity, technical skill, and appreciation for automotive design. Building these models provides a tangible sense of accomplishment as each piece is carefully assembled and transformed into a detailed miniature. The process is a relaxing, engaging activity for hobbyists of all ages. It allows them to escape the digital world and immerse themselves in a tactile, hands-on experience. Furthermore, building diecast models encourages attention to detail and patience, which in turn can also improve focus and problem-solving skills. For many, the finished product serves as a personal collection, a tangible representation of interests, and a symbol of dedication.
Why Choose Diecast Model Car Kits
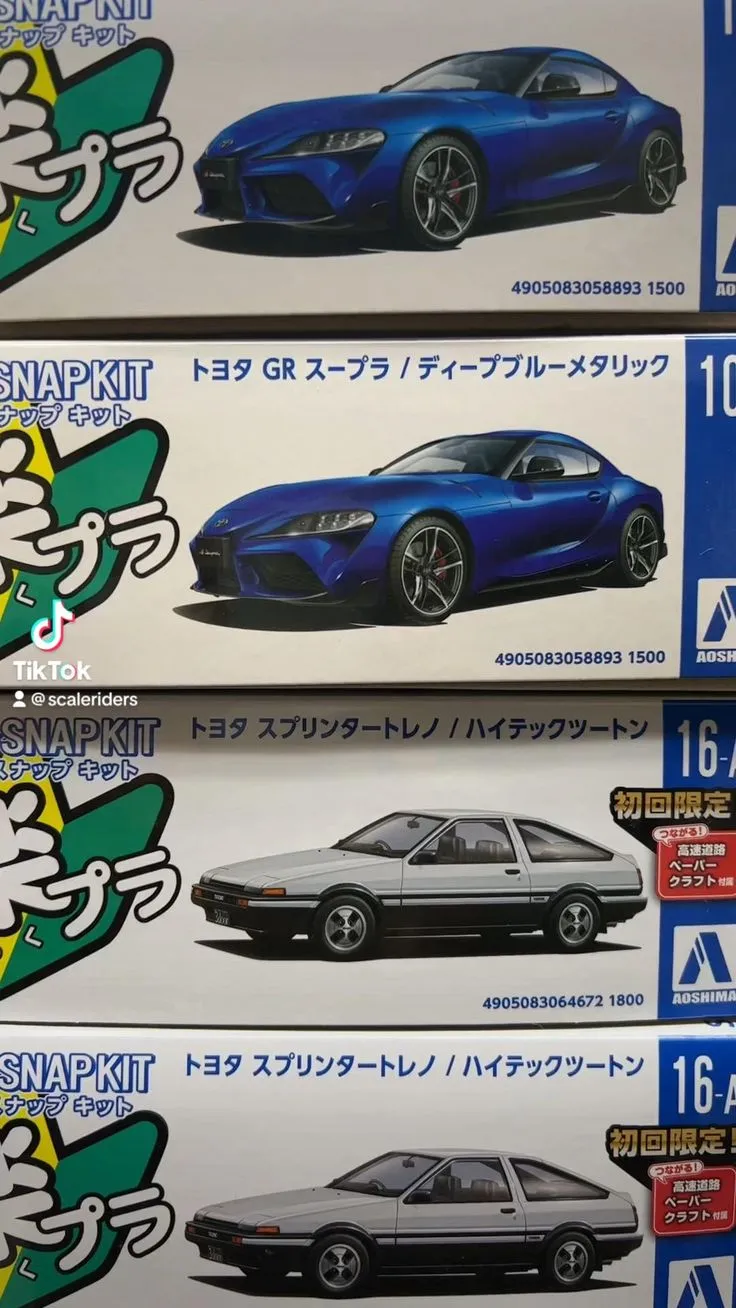
Choosing diecast model car kits is a great way to embrace a hobby that offers a combination of enjoyment, learning, and tangible satisfaction. The key reason to choose diecast models lies in the level of detail and realism they can achieve. Diecast metal parts allow for intricate designs and fine detailing, closely replicating the appearance of real cars. This attention to detail extends to the interior, engine, and chassis, resulting in a more authentic final product. Moreover, building these kits offers an educational opportunity. Builders gain insights into automotive design, engineering, and the manufacturing processes involved in the creation of full-size vehicles.
Choosing the Right Diecast Model Kit
When choosing a diecast model car kit, several factors should be considered to ensure the best experience. First, determine the desired scale, as this impacts the size and level of detail. Popular scales include 1:18, 1:24, and 1:43, with larger scales offering greater detail but also taking up more space. Beginners should start with kits that have fewer parts and simpler designs, whereas experienced builders can select more complex and challenging models. Research the manufacturer’s reputation for quality and accuracy. Read reviews from other builders, noting any common issues or praise for specific brands. Additionally, assess the availability of tools and materials needed to complete the kit. Some kits may require specific paints, adhesives, or other supplies. The selection of a model can be a rewarding experience, particularly when aligning it with one’s interest.
Scale and Detail Considerations
Scale plays a crucial role in the final appearance and building process of diecast model car kits. Common scales such as 1:18, 1:24, and 1:43 determine the size and complexity of the model. A 1:18 scale model is larger, often including more detailed features. This makes it ideal for showcasing intricate parts but it also requires more space for display and storage. 1:24 scale is a middle ground that offers a balance of detail and manageability. These models are more accessible to build and display. Lastly, 1:43 scale models are smaller and are well-suited for collectors. However, the smaller size makes assembly more challenging and might limit the level of detail achievable. Consider the level of detail desired, space limitations, and the level of building experience when choosing the right scale.
Material and Quality Assessment
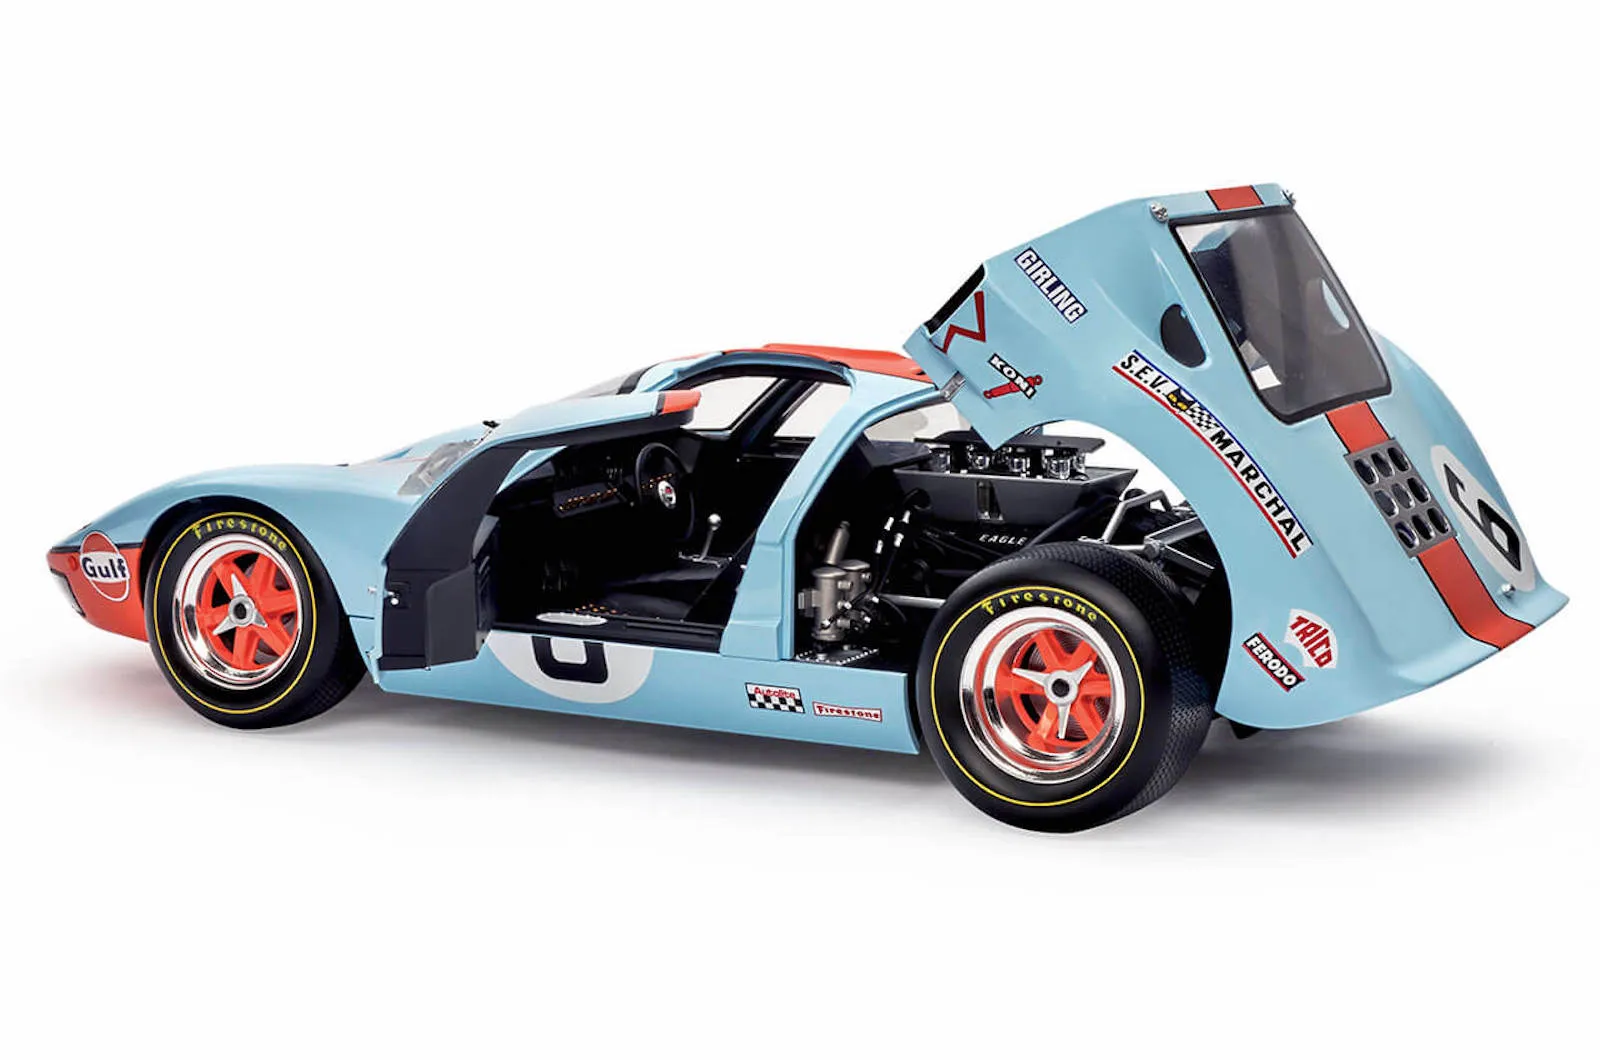
The materials and quality of components significantly influence the final appearance and durability of diecast model car kits. Diecast metal is the core material used for parts such as body panels, chassis, and engine components. High-quality diecast metal provides weight, and a realistic feel to the model. Look for kits that utilize finely molded parts with minimal flash or imperfections. Plastic parts are also common, especially for interior details, tires, and smaller components. The quality of plastic can vary, so check reviews for comments on the fit and finish of these parts. The use of photo-etched parts for details like grilles or emblems can enhance realism. The quality of decals, paint, and the accuracy of the overall design and assembly are important factors for the overall satisfaction of the project. Choose kits from reputable brands that provide quality materials.
Tools and Materials You’ll Need
Building diecast model car kits requires a collection of essential tools and materials that ensure accurate assembly and finishing. These include precision tools such as hobby knives, side cutters, and tweezers. Hobby knives are used for cutting plastic parts from sprues and trimming excess material. Side cutters are essential for separating parts from the sprue frames. Tweezers help in handling small and delicate parts. A cutting mat provides a safe surface for cutting and protects the work area. Sanding sticks or fine-grit sandpaper are necessary for smoothing surfaces and removing imperfections. Glues and adhesives, designed for plastics and metals, are used to bond the parts together. Additionally, paints, primers, and clear coats are required for achieving a professional finish. The choice of paint will depend on whether you plan to use spray cans or an airbrush. Lastly, a well-lit workspace is crucial to prevent errors.
Essential Tools for Building
Essential tools for building diecast model car kits play a critical role in achieving precise and professional results. A sharp hobby knife is indispensable for trimming parts from sprues, cleaning up edges, and removing excess material. Ensure that the blade is always sharp to make clean cuts and avoid damaging the parts. Side cutters are used to remove parts from the sprue frames. They help to minimize stress on the parts and prevent any damage. Tweezers are vital for handling small parts, decals, and photo-etched components, and are essential to assembling the model. Sanding sticks or fine-grit sandpaper are necessary for smoothing surfaces, removing mold lines, and preparing parts for painting. A cutting mat is a must for protecting the work surface. A good cutting mat also provides a self-healing surface, making it ideal for cutting and trimming parts.
Recommended Adhesives and Paints
The selection of appropriate adhesives and paints is vital to achieving a professional finish on diecast model car kits. For adhesives, cyanoacrylate (CA) glue, often referred to as super glue, is suitable for bonding many plastic and metal parts. It provides a fast and strong bond but requires care to prevent excess glue from seeping out. Plastic cement is designed specifically for plastic parts and chemically welds them together, creating a strong bond. For painting, acrylic paints are a popular choice due to their ease of use and low odor. They are available in various finishes, and are perfect for spray painting. Enamel paints offer a durable and glossy finish, but they require more time to dry and require proper ventilation. A primer is essential for preparing the surface, ensuring paint adhesion, and creating a smooth finish. A clear coat protects the paint and adds a glossy finish.
Step-by-Step Building Guide
Building a diecast model car kit is a rewarding process that involves several key steps. Start by carefully examining the kit’s instructions. Organize and identify all parts. Before starting, prepare a clean, well-lit workspace with all the necessary tools and materials. Begin with the first assembly step, usually involving the chassis or engine. Carefully remove parts from the sprue frames using side cutters or a hobby knife. Dry-fit the parts before applying any glue to ensure a proper fit. Once the parts are aligned correctly, apply the appropriate glue and allow it to dry according to the manufacturer’s instructions. Work methodically through each step, referring to the instructions for guidance. Be patient and take your time, especially when dealing with complex assemblies or delicate parts. If necessary, pause and take a break to maintain your focus. Regularly check the alignment and fit of the parts.
Preparing the Parts
Preparing the parts is a critical first step in building diecast model car kits, determining the final quality. Start by carefully examining the parts on the sprue frames. Use side cutters or a hobby knife to remove each part from the frame, taking care to avoid damaging the part. Trim any excess plastic or flash, which is the excess material left over from the molding process. Use a hobby knife or sanding stick to remove any imperfections or mold lines. Test-fit the parts before applying any adhesive, ensuring they fit correctly. If any adjustments are needed, use a hobby knife or sandpaper to carefully trim or sand down the parts until they fit. Wash the parts in mild soap and water to remove any oils or residue, which can interfere with paint adhesion. Make sure to allow the parts to dry completely before assembly. Careful preparation ensures that the final model will have a clean and accurate appearance.
Assembling the Chassis

Assembling the chassis is one of the first steps in building diecast model car kits, providing the foundation for the entire model. Start by carefully studying the kit’s instructions and identifying all the chassis components. Remove the parts from the sprue frames and clean them. Dry-fit the parts to ensure the correct alignment before applying any adhesive. Assemble the suspension components, such as the springs and shocks. Attach any additional details, such as exhaust pipes and fuel tanks. Use the appropriate adhesive for the specific parts. Ensure that all the components are properly aligned and firmly attached. Once the glue has dried completely, check the chassis for any imperfections or misalignments. Make any necessary adjustments before proceeding. A well-assembled chassis is essential for the structural integrity and realistic appearance of the model.
Constructing the Body
Constructing the body of your diecast model car is a key step in bringing the model to life. Start by identifying the body panels and components, which often include the hood, doors, fenders, and roof. Remove the parts from the sprue frames and clean any excess material. Dry-fit the panels to the chassis to ensure they fit properly. Apply adhesive to the joints and carefully align the parts. Clamps or tape can be used to hold the panels in place while the glue dries. Once the body panels are in place, attach any additional details. This may include mirrors, door handles, and window frames. Ensure all the parts are aligned and securely attached before moving on. Check the body for any gaps or imperfections. Once dry, the body is ready for painting and finishing.
Adding Interior Details
Adding the interior details to your diecast model car kit transforms it into a realistic miniature. Begin by identifying the interior components, such as the dashboard, seats, steering wheel, and door panels. Remove the parts from the sprue frames and clean them. Paint the interior components. Add any decals or details to enhance their appearance. Assemble the seats and attach them to the chassis. Install the dashboard, steering wheel, and door panels, making sure they are aligned correctly. Add any additional details, such as seat belts or gauges. The interior parts can be assembled with glue and tweezers. Ensure that the interior components fit correctly. Detailed interiors will bring the model to life.
Painting and Finishing Touches
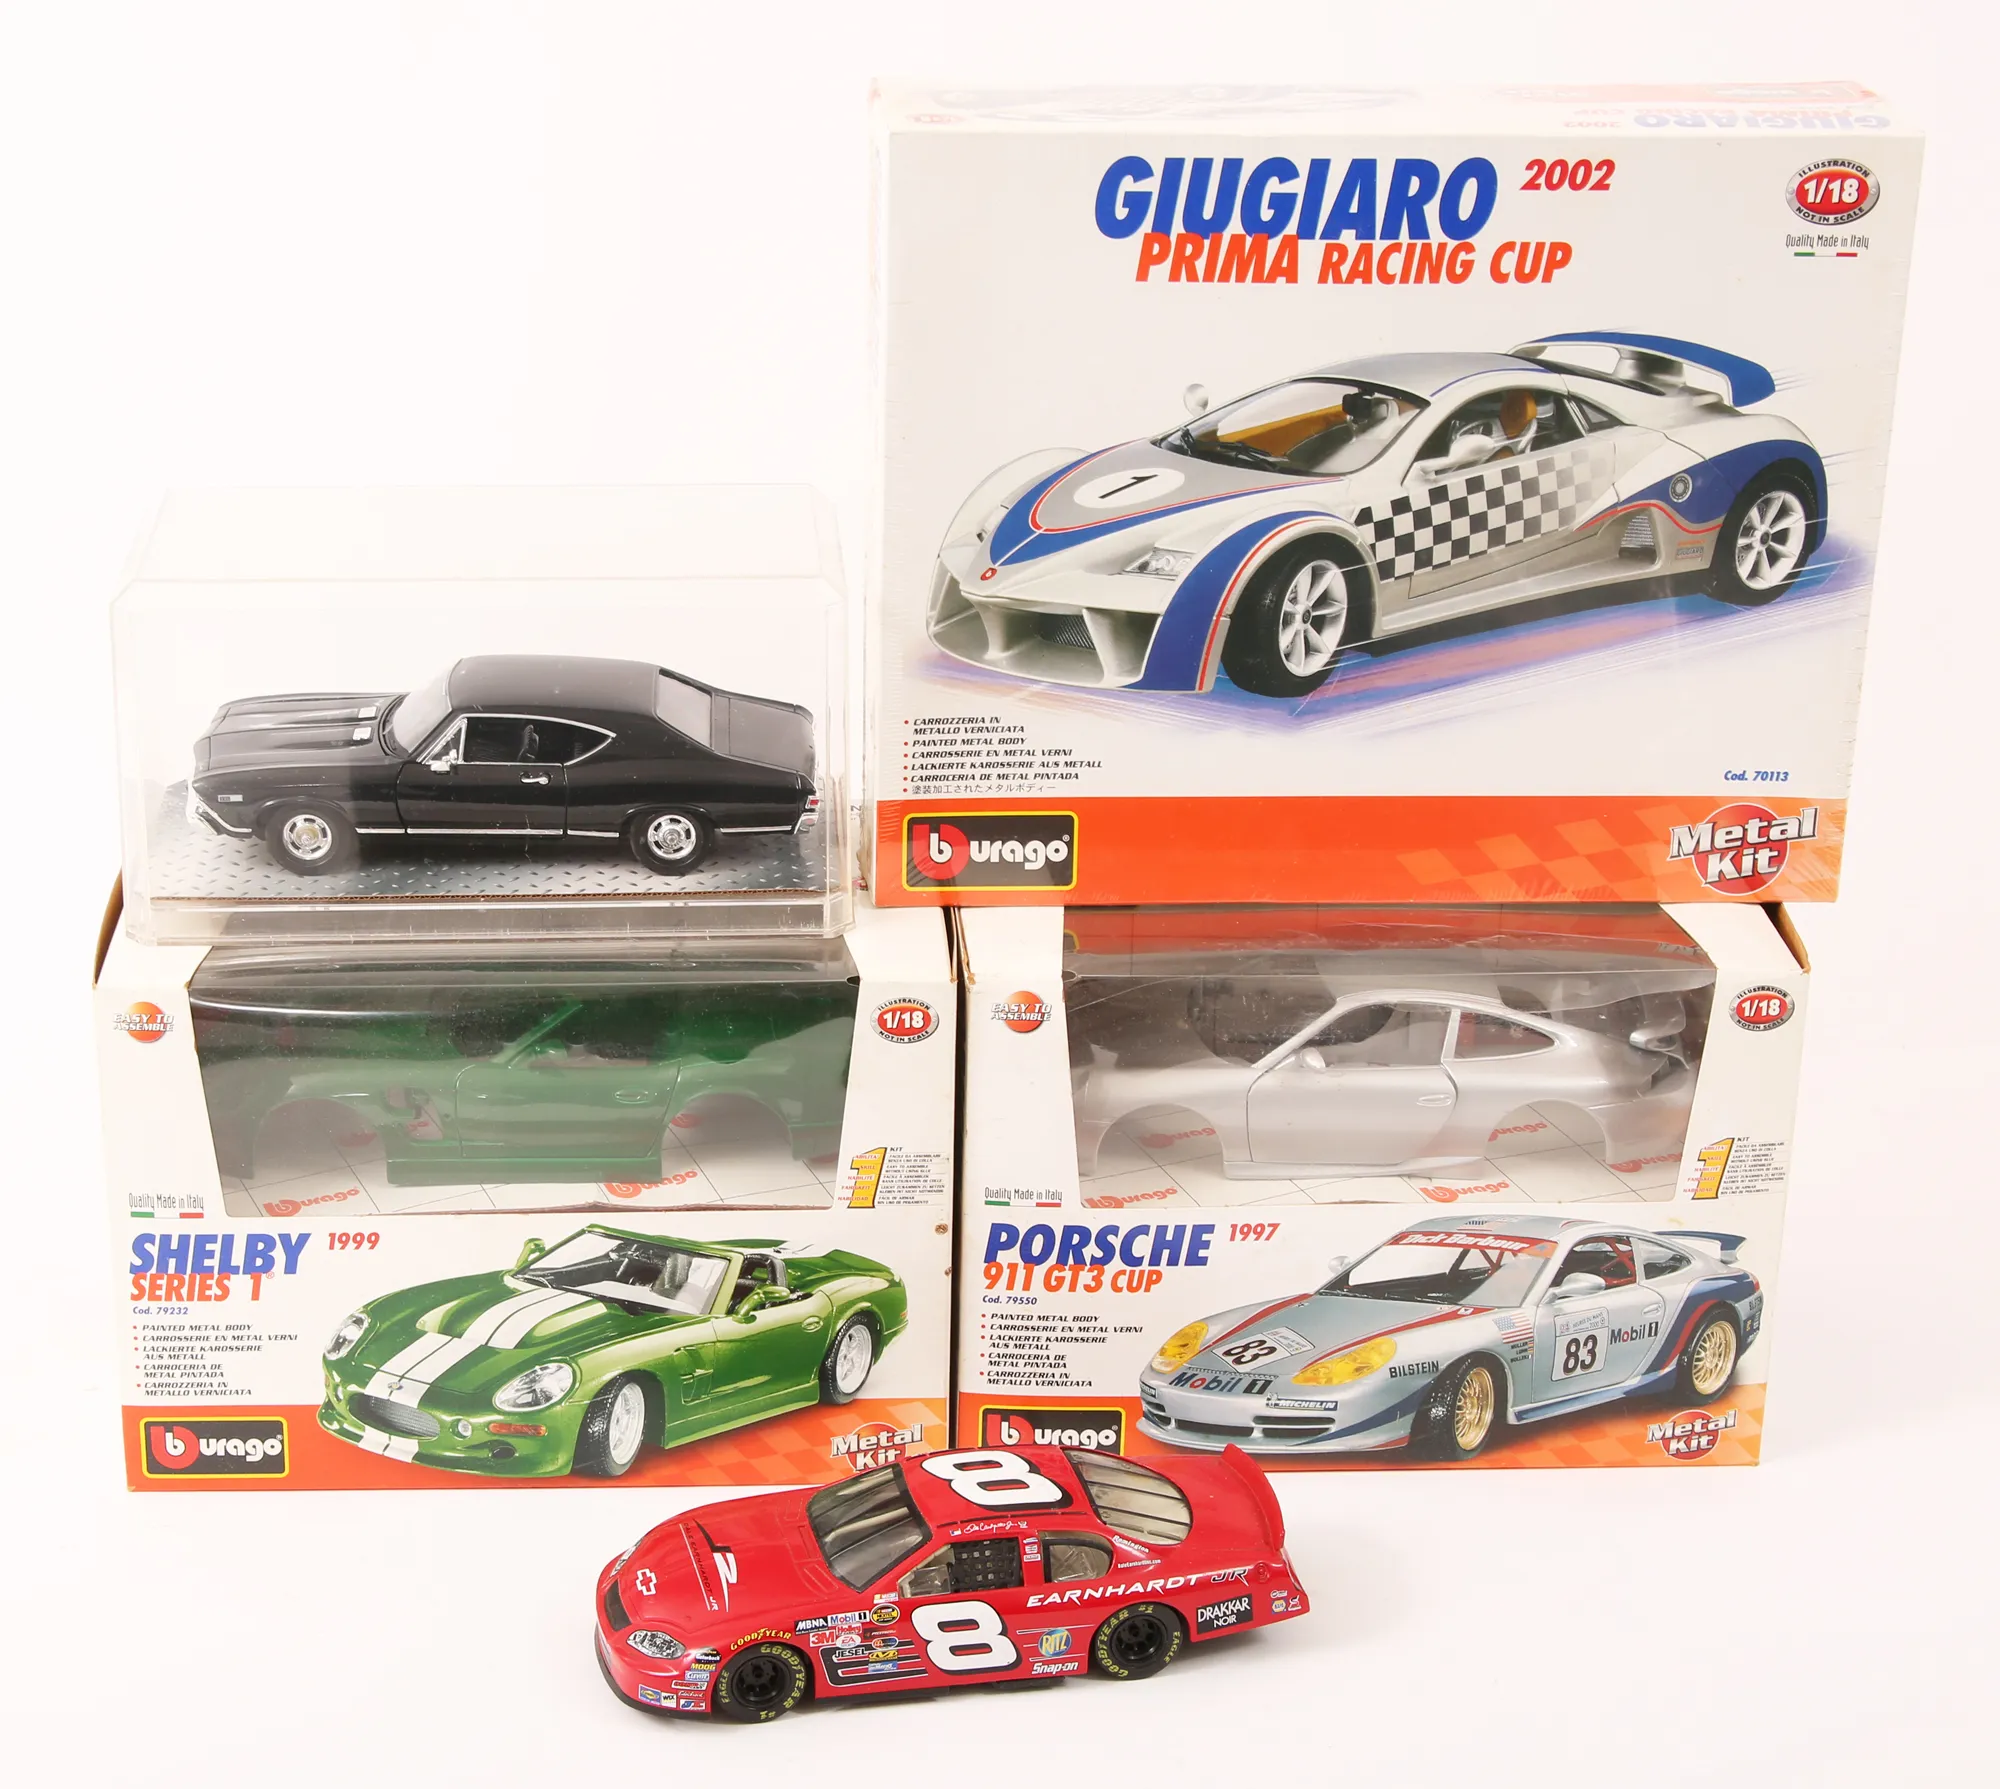
Painting and finishing are essential steps in building diecast model car kits. Start by cleaning the model and applying a primer to create a smooth surface for the paint. Choose the paint color based on the model. Spray the paint evenly, ensuring full coverage and avoiding runs or drips. Multiple thin coats will produce a better finish than a single thick coat. Once the paint has dried, apply clear coat to protect the paint and provide a glossy finish. After the clear coat dries, polish the model with fine-grit sandpaper to remove any imperfections. Apply decals to the model, such as logos and stripes, and use decal setting solutions to make them adhere. Once the paint has dried completely, attach any remaining details, such as lights, mirrors, and wipers. The finishing touches are important for a realistic look.
Applying Paint and Decals
Applying paint and decals requires a level of care and precision to achieve a professional finish. Before painting, clean the model and apply a primer to create a smooth surface. This allows the paint to adhere properly and minimizes any imperfections. Choose the paint color according to the model. Apply the paint in thin, even coats, ensuring full coverage and avoiding drips or runs. Let each coat dry completely before applying the next. Once the paint has dried, apply decals, carefully cutting them from the sheet. Use decal setting solutions to make the decals conform to the model’s surface. This will prevent any silvering or air bubbles. Once the decals have dried, apply a clear coat to protect the paint and decals. It will also add a glossy finish. Patience and attention to detail are essential.
Adding the Final Details
Adding the final details is the concluding step in building diecast model car kits. This is where the model truly comes to life. Attach any remaining details. These may include lights, mirrors, wipers, and antennas. Glue the lights into place, ensuring they are aligned correctly. Attach the mirrors and wipers with care, making sure they are in the right position. Add the antennas, carefully bending and positioning them. Check the model for any imperfections or touch-ups. This may involve small paint corrections. After all the details are in place, inspect the entire model. Make any necessary adjustments before declaring it complete. A well-executed model will be a rewarding project.
Common Mistakes to Avoid
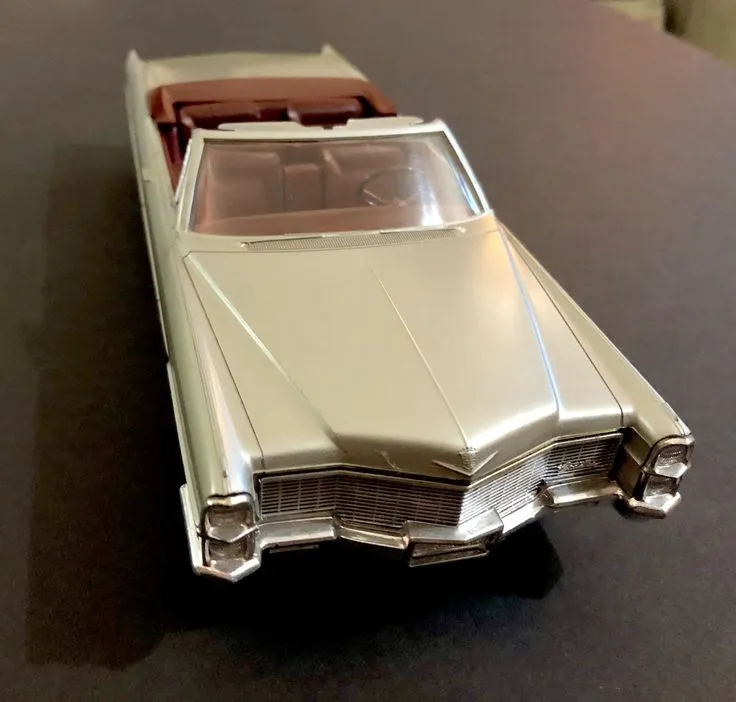
Avoiding common mistakes is essential when building diecast model car kits. Rushing the assembly process can lead to mistakes such as misaligned parts or poorly glued joints. Instead, take your time and carefully follow the instructions. Not dry-fitting the parts before gluing can result in parts that don’t fit correctly, so dry-fitting is a must. Using too much glue is another common error. The excessive glue can ooze out, ruining the appearance. Instead, use a small amount. Neglecting proper preparation can affect the final result, as you must clean, prime, and sand the parts. Rushing the painting process, such as applying too thick coats of paint, can lead to runs and imperfections. The best way to handle this is to apply several thin coats. Ignoring safety precautions can cause injuries. Always work in a well-ventilated area, and use appropriate safety equipment.
Maintaining and Displaying Your Model
Maintaining and displaying your completed diecast model car is important to preserve its beauty. Store the model in a dust-free environment, away from direct sunlight and extreme temperatures. Dusting the model regularly with a soft brush or cloth will keep it clean. Avoid touching the model frequently, as the oils from your fingers can damage the paint and decals. Consider displaying the model in a display case, which will protect it from dust and accidental damage. If you decide to move the model, handle it carefully by holding the base. Avoid any unnecessary exposure to sunlight or moisture. By following these steps, you can ensure your model car stays in excellent condition.
Showcasing Your Finished Model
Showcasing your finished diecast model car is a great way to display your skills and share your passion with others. A display case provides protection from dust and damage while also highlighting the model’s details. Arrange the model in the case with other models or accessories to create a themed display. Consider using a well-lit area to highlight the details. If you choose to photograph your model, use proper lighting and a clean background to capture its beauty. You can also share your model on social media platforms or participate in model car shows. Regardless of how you display it, showcase your finished model to demonstrate your hard work and express your passion for model building.
Where to Find Diecast Model Kits
Finding diecast model car kits is made easy. Many hobby shops stock a wide variety of kits. These shops often have knowledgeable staff who can provide advice and recommendations. Online retailers offer a vast selection of kits. Sites such as Amazon, eBay, and dedicated model car stores provide a convenient way to browse, compare prices, and read reviews. Model car shows and swap meets offer a chance to find rare and unique kits. These events often provide a sense of community. Always compare prices and read reviews before making a purchase. Consider the shipping costs and return policies. Checking all these points ensures you will find the perfect kit for your next project.
