Understanding Diecast Finishing
Diecast finishing is a detailed process that transforms a raw diecast model into a visually stunning replica. It involves a series of steps, from preparing the surface to applying the final clear coat, each contributing to the overall quality and appearance of the finished model. This craft requires patience, precision, and a keen eye for detail. The techniques employed can vary depending on the desired finish, the model’s complexity, and the tools available to the modeler. Understanding the fundamentals of diecast finishing is the first step toward achieving professional-looking results.
What is Diecast Finishing
Diecast finishing encompasses all the processes involved in taking a diecast model from its bare metal or plastic state to a fully painted, detailed, and protected final product. This includes surface preparation, painting, detailing, and applying protective coatings. The goal is to replicate the appearance of a real-life vehicle as accurately as possible, paying close attention to the color, finish, and intricate details. The techniques and tools used range from basic hand tools and spray cans to sophisticated airbrushing systems and specialized paints.
Importance of Proper Diecast Finishing

Proper diecast finishing is crucial for several reasons. First, it enhances the model’s aesthetic appeal, making it look more realistic and attractive. Secondly, it protects the model from environmental factors such as UV light, moisture, and handling, which can degrade the paint and details over time. A well-finished model is also more valuable, both in terms of its perceived quality and its collectible value. The finishing process allows the modeler to correct imperfections, add custom details, and create a unique piece of art that reflects their skill and passion for the hobby.
Top 7 Diecast Finishing Secrets
Secret 1 Surface Preparation is Key
The foundation of a great finish is proper surface preparation. This involves cleaning the model, removing any oils, mold release agents, or imperfections that might interfere with paint adhesion. A clean surface ensures the paint bonds correctly, preventing chipping or peeling later on. Careful surface preparation can also reveal any flaws in the model’s casting, which can then be addressed before painting, leading to a smoother, more professional finish.
Cleaning and Degreasing
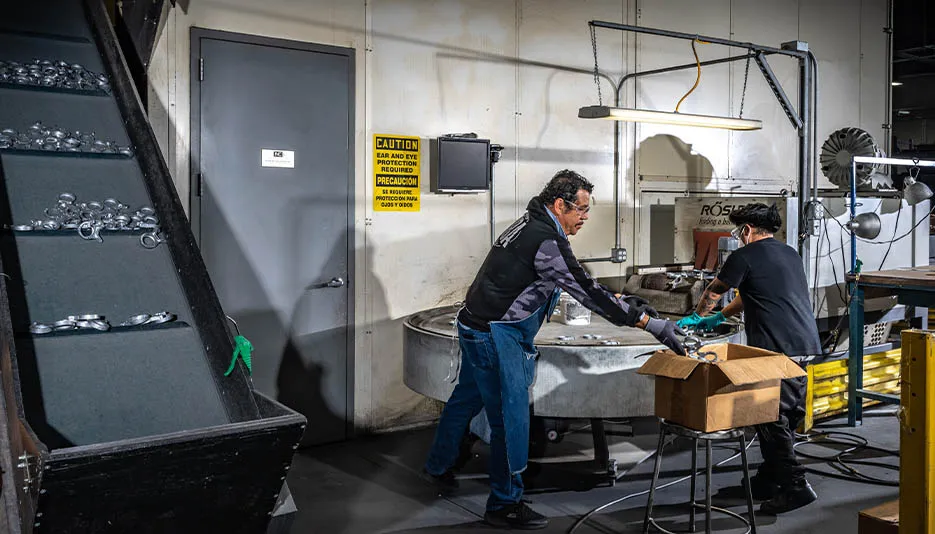
Before you begin painting, it’s essential to clean and degrease the model. Use warm, soapy water and a soft brush to remove any dirt or debris. Rinse thoroughly and allow the model to dry completely. For more thorough cleaning, consider using a specialized degreaser. This step ensures that the paint adheres properly, preventing issues like fisheyes or poor coverage. Thorough cleaning is the first step toward a flawless finish.
Sanding Techniques
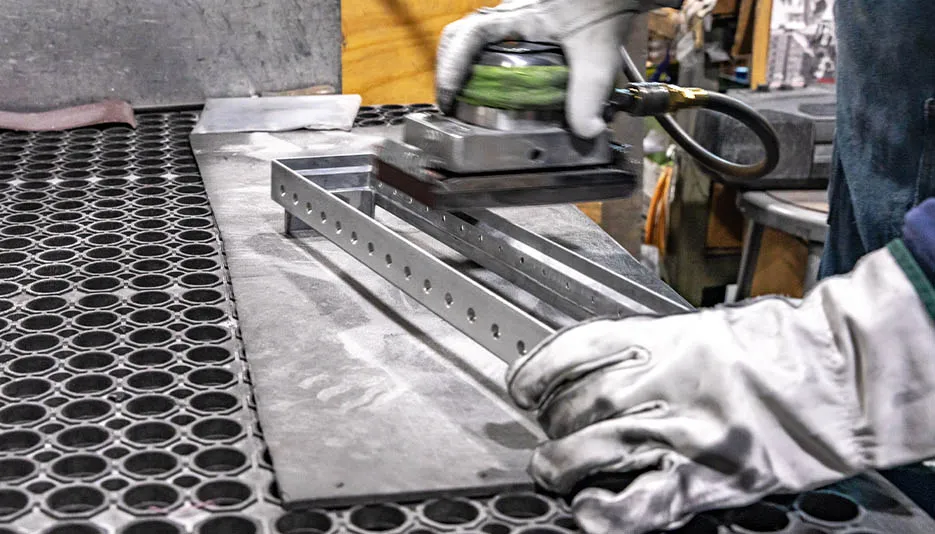
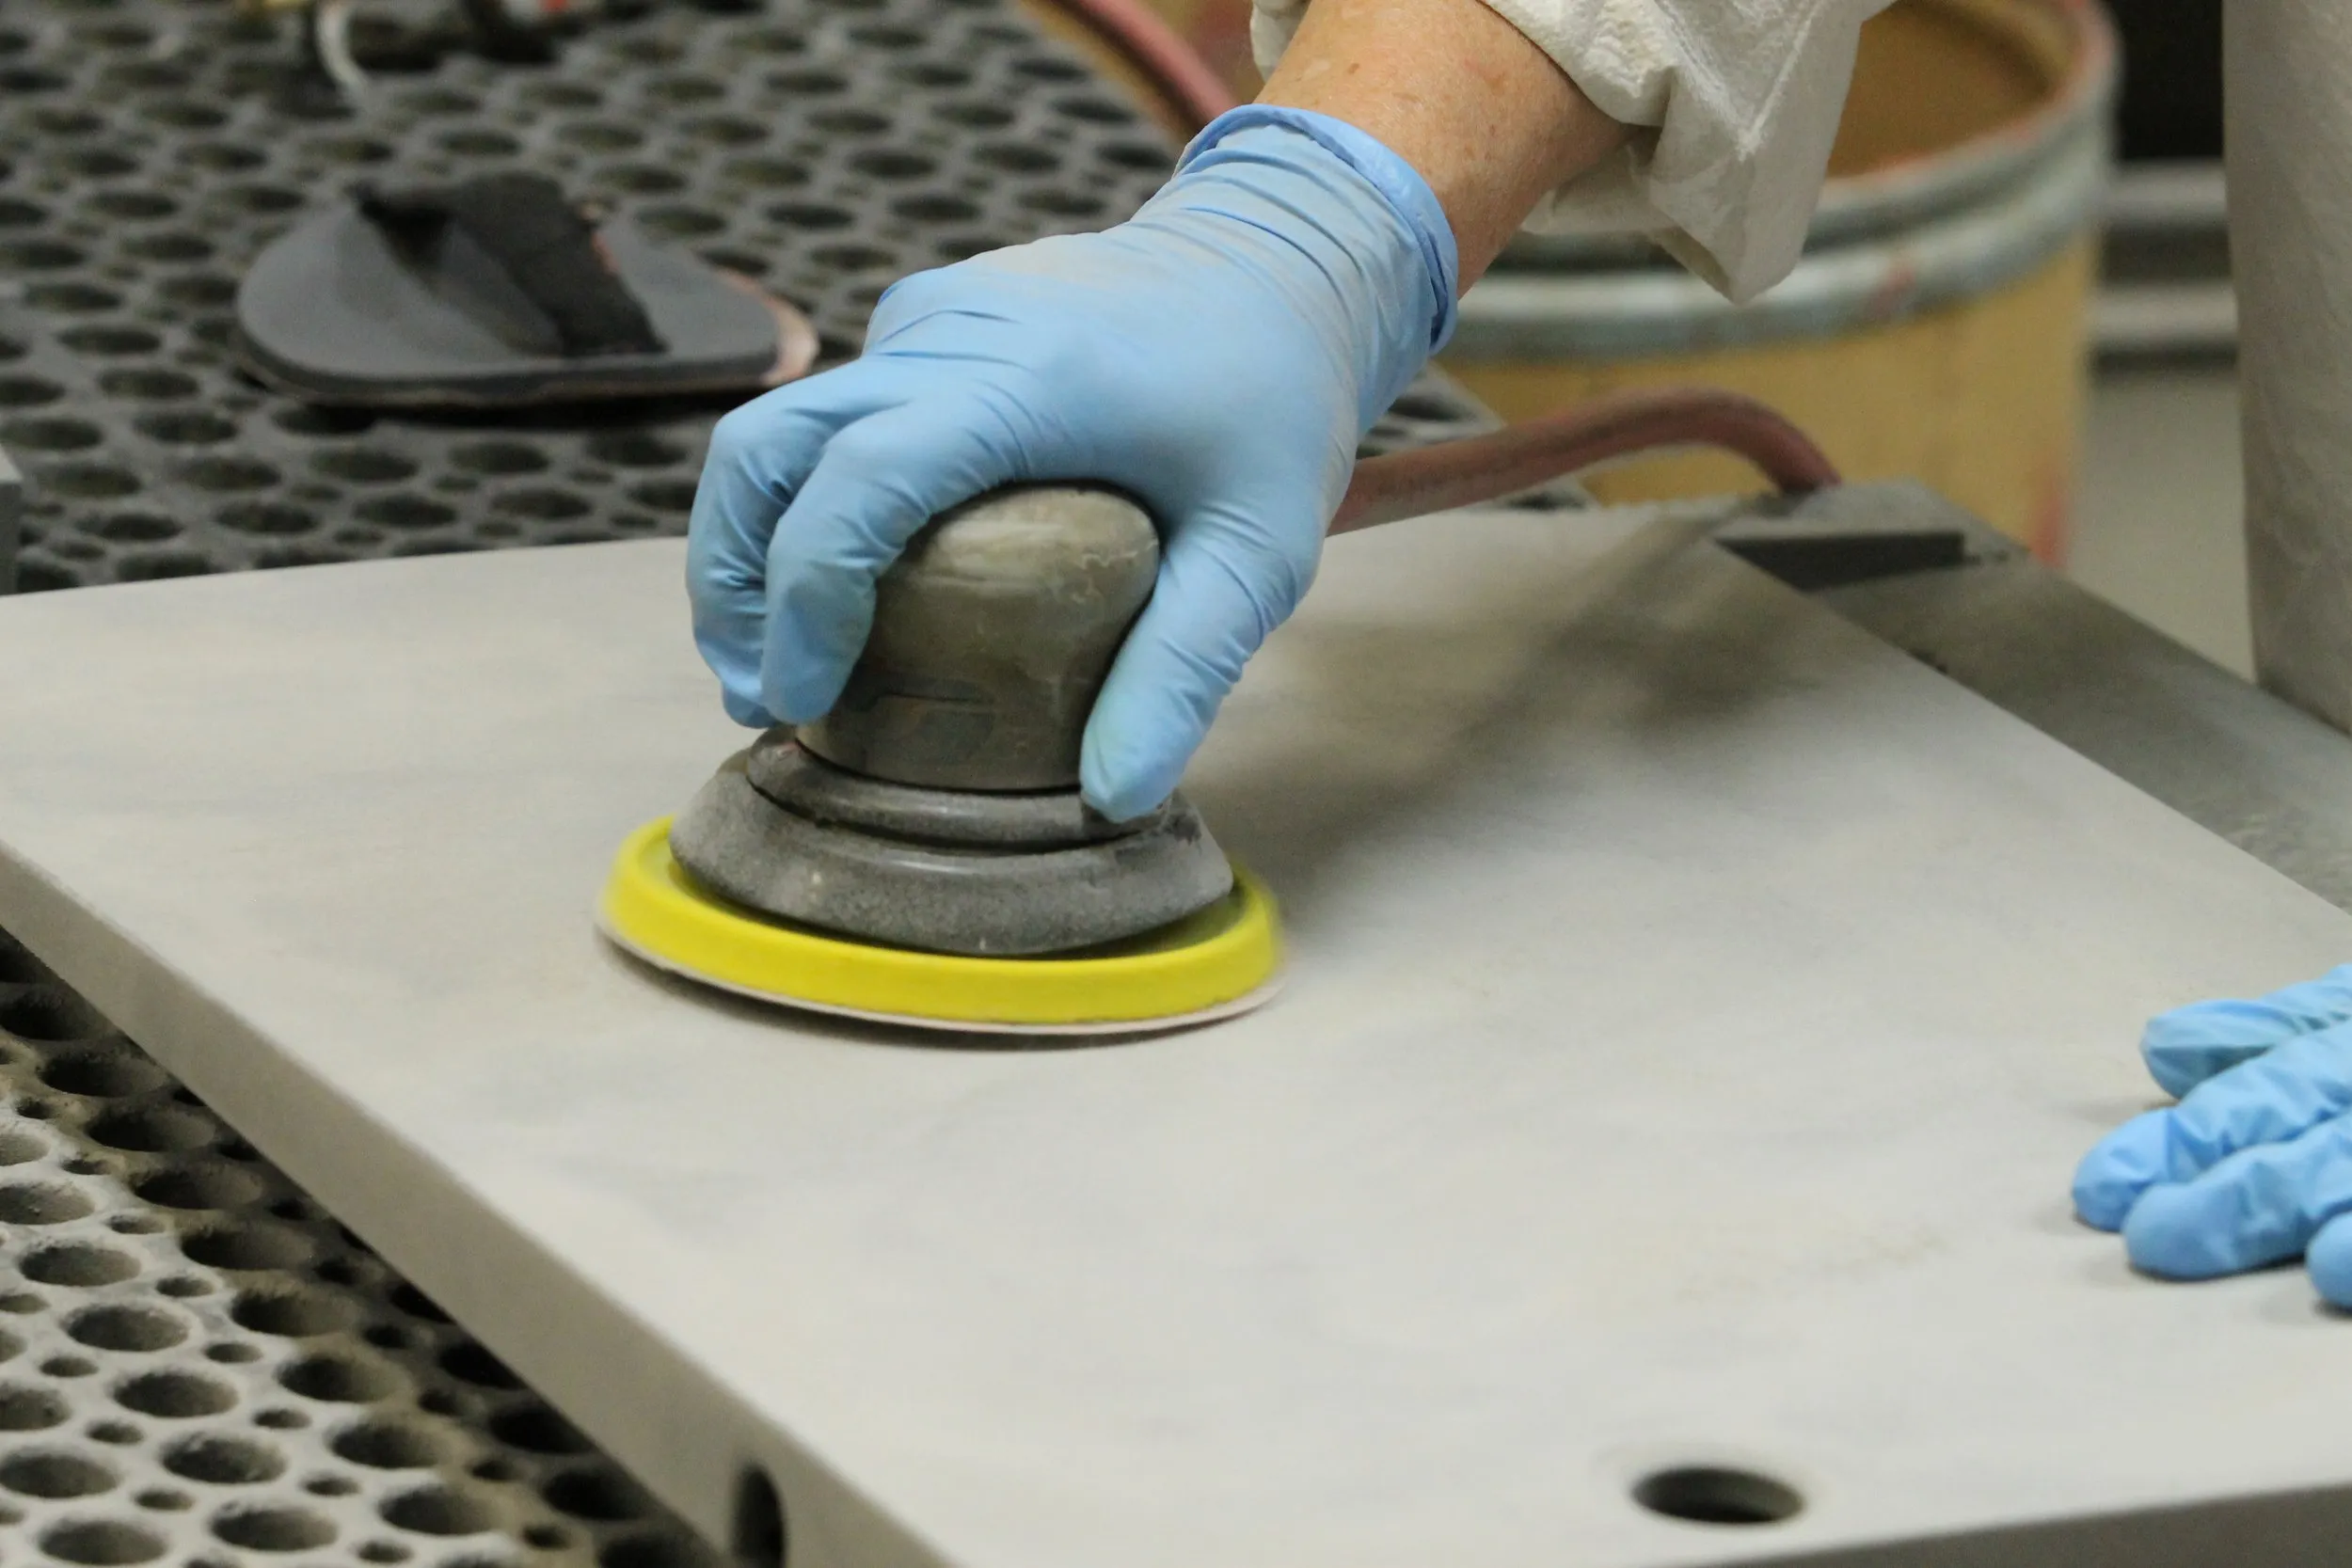
Sanding helps to smooth out the surface and remove any imperfections. Start with a coarser grit sandpaper (e.g., 400 grit) to remove any casting lines or flash, then progress to finer grits (e.g., 600, 800, 1000) to refine the surface. Use a sanding block for flat surfaces and consider wet sanding to minimize dust. Be careful not to over-sand, as this can damage the details of the model. Proper sanding provides a smooth base for paint application.
Secret 2 Choosing the Right Paints
Selecting the right paints is crucial for achieving the desired finish. Different types of paints offer varying levels of durability, gloss, and ease of use. The choice of paint will also depend on the model’s scale, the desired level of detail, and the tools you have available, like an airbrush or spray cans. Always test your paint on a hidden area of the model or on a spare piece to ensure compatibility and color accuracy.
Types of Paints for Diecast Models
Common paint types include acrylics, enamels, and lacquers. Acrylics are water-based, dry quickly, and are relatively easy to clean up, making them a good choice for beginners. Enamels offer excellent durability and a glossy finish, but they take longer to dry and require solvents for cleaning. Lacquers dry very quickly and provide a smooth, durable finish, but they often require more experience to use. Consider the drying time, durability, and finish when selecting your paint.
Paint Application Methods
Paint can be applied using airbrushes, spray cans, or brushes. Airbrushes offer the most control and are ideal for detailed work, but require a compressor and some practice. Spray cans are convenient and suitable for larger surfaces, but they can be less precise. Brushing is suitable for small areas and touch-ups, but it can leave brush strokes. Choose the method that best suits your skill level and the complexity of the project.
Secret 3 Mastering Priming
Priming is an essential step that prepares the surface for painting. It creates a uniform base, improves paint adhesion, and helps the color coat to look its best. Priming also reveals any remaining imperfections on the surface that might need to be addressed before the color coat is applied. A good primer will help to ensure a durable and long-lasting finish.
Purpose of Priming
The primary purpose of priming is to provide a uniform surface for the paint to adhere to. It fills minor imperfections, improves adhesion, and seals the surface to prevent the paint from soaking into the material. Priming also enhances the final color, making it more vibrant and ensuring the paint’s true color is achieved. This step is particularly important when painting over different materials or colors.
Priming Techniques
Apply the primer in thin, even coats. Avoid thick coats, as they can lead to runs or drips. Allow each coat to dry completely before applying the next. Lightly sand the primer after it’s dry to smooth out any imperfections. Use a primer specifically designed for the material of your diecast model (e.g., metal, plastic). Proper priming is the key to a flawless color coat.
Secret 4 Painting Techniques for a Flawless Finish
Achieving a flawless finish requires skill and precision. This involves using the correct techniques for paint application, whether airbrushing or using spray cans, to avoid imperfections such as runs, drips, or orange peel. Proper ventilation and temperature control are also crucial for a smooth, even coat. Patience and attention to detail are essential for a professional-looking result.
Airbrushing vs. Spray Cans
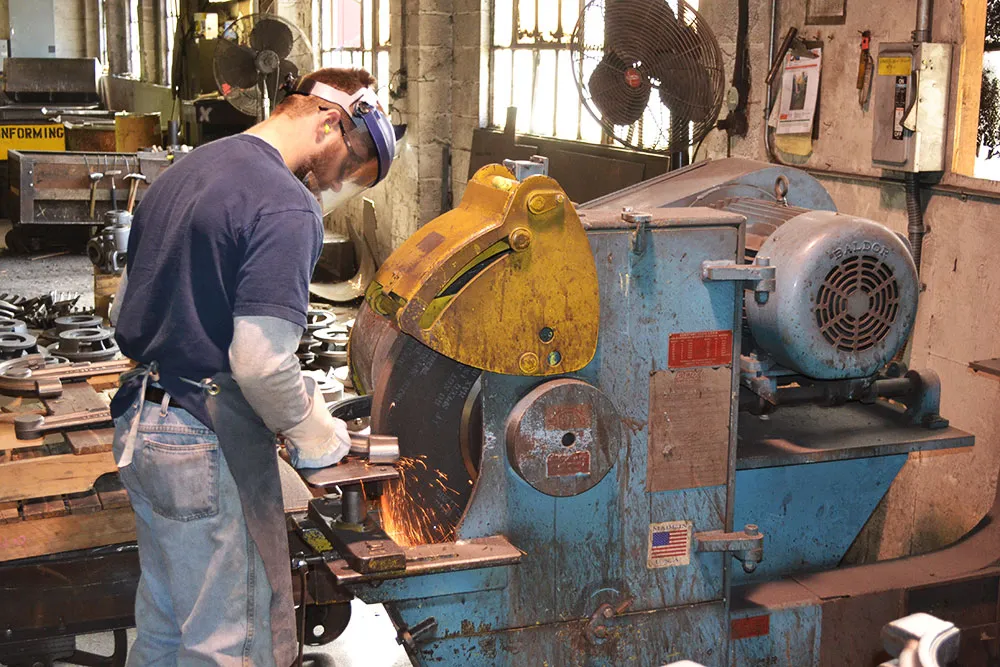
Airbrushing offers greater control and allows for finer details and gradients. It requires practice and the right equipment. Spray cans are easier to use for beginners, but they can be less precise and prone to drips. For large areas, spray cans can be more practical, while airbrushes are ideal for detailed work and custom paint jobs. The best choice depends on your skill level and project requirements.
Multiple Thin Coats
Applying multiple thin coats is the key to a flawless finish. Avoid applying thick coats, which can lead to runs, drips, and orange peel. Instead, apply several thin coats, allowing each coat to dry completely before applying the next. This technique allows the paint to build up evenly and ensures a smooth, durable finish. Patience is essential here.
Secret 5 Detailing and Decals
Detailing brings your model to life, adding realism and visual interest. This involves adding decals, washes, and drybrushing to highlight details and create shadows. The detailing process takes the model beyond a simple paint job and transforms it into a true work of art. Choosing the right detailing techniques will depend on the model and the level of realism you are trying to achieve.
Applying Decals Correctly
Decals add essential details, such as logos, markings, and stripes. Cut out the decals carefully and soak them in water until they release from the backing paper. Position the decal on the model and use a soft cloth or decal setting solution to remove any air bubbles and ensure it adheres smoothly. Allow the decals to dry completely before applying a clear coat to protect them.
Detailing with Washes and Drybrushing
Washes are thin, translucent layers of paint that are applied to recessed areas to create shadows and highlight details. Drybrushing involves using a nearly dry brush to apply paint to raised surfaces, highlighting edges and creating a weathered effect. Both techniques add depth and realism to your model. Practice these techniques on a test piece before applying them to your model.
Secret 6 Polishing and Clear Coating
Polishing and clear coating are the final steps in the finishing process. Polishing removes any imperfections and adds a glossy shine. Clear coating protects the paint and decals from damage and enhances the overall finish. These steps give your model a professional look and protect your work for years to come.
Polishing Techniques
Polishing involves using progressively finer grits of polishing compounds to remove imperfections and enhance the gloss. Start with a coarser compound and work your way to a finer one. Use a soft cloth or a polishing machine for best results. Take your time and be careful not to over-polish, as this can damage the paint.
Applying Clear Coat
Clear coating provides a protective layer that protects the paint and decals. Apply the clear coat in thin, even coats, allowing each coat to dry completely before applying the next. Use a clear coat that is compatible with your paint type. A good clear coat will enhance the shine and protect your work from scratches and UV damage. It’s the final touch that brings everything together.
Secret 7 Troubleshooting Common Issues
Even with the best techniques, issues can arise during diecast finishing. Learning how to troubleshoot and fix these problems is essential for achieving a high-quality finish. Common problems include runs, sags, dust, and imperfections. Understanding the causes of these issues and how to address them will save you time and frustration.
Dealing with Runs and Sags
Runs and sags occur when the paint is applied too thickly or when the paint runs due to gravity. To fix these issues, let the paint dry completely, then carefully sand down the imperfections. Reapply the paint in thin, even coats. Avoiding thick coats and applying the paint in a well-ventilated area can help prevent runs and sags. Correcting these issues ensures a smooth finish.
Addressing Dust and Imperfections
Dust and imperfections can ruin an otherwise perfect finish. To minimize dust, work in a clean environment and use tack cloths to remove any particles from the model’s surface. If dust particles do get into the paint, let the paint dry completely, then carefully sand the area and reapply the paint. Careful preparation and a clean workspace can greatly reduce these issues.
