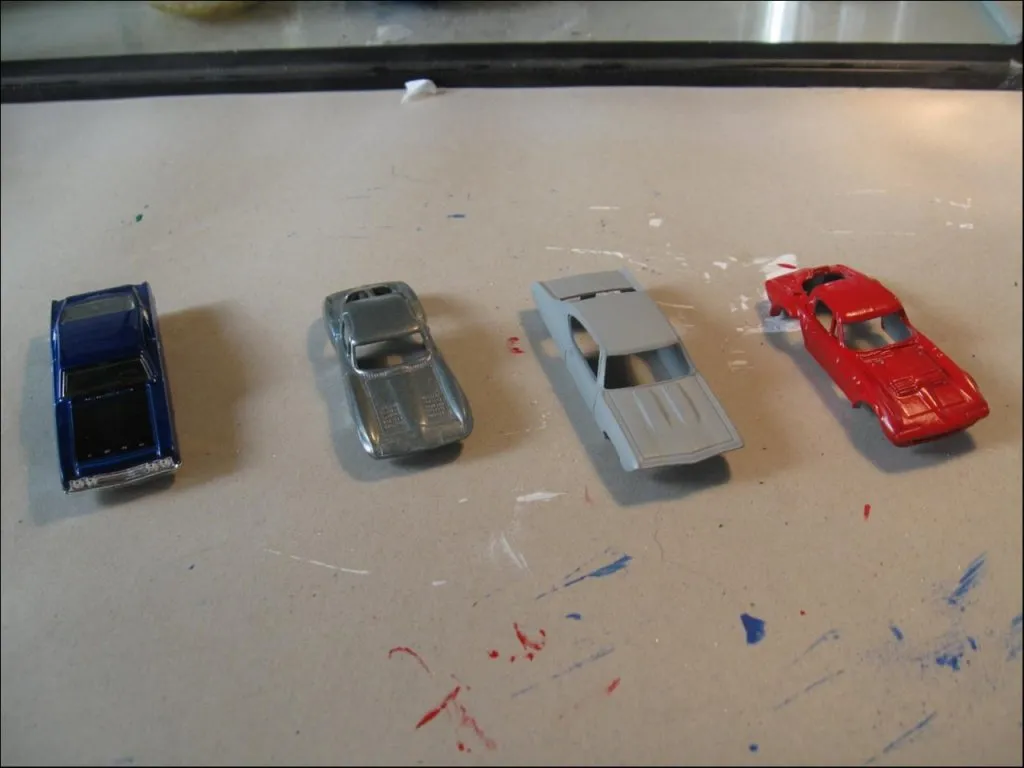
Custom painting diecast cars is a rewarding hobby that allows you to express your creativity and personalize your collection. Whether you’re a seasoned modeler or a complete beginner, this ultimate guide will walk you through every step of the process, from choosing the right supplies to achieving a professional-looking finish. Get ready to transform those ordinary diecast models into stunning miniature masterpieces. The world of diecast car customization is vast, offering a variety of techniques and styles to explore. This guide is designed to be comprehensive, providing you with all the knowledge you need to get started and take your skills to the next level. Remember that patience and practice are key to success in this hobby. Take your time, enjoy the process, and don’t be afraid to experiment.
Choosing Your Diecast Car Painting Supplies
Before you can start painting, you’ll need to gather the right supplies. Investing in quality materials upfront will save you time, frustration, and money in the long run. This section covers the essential paints, tools, and accessories you’ll need to get started. Always prioritize safety. Work in a well-ventilated area, wear a respirator to protect yourself from paint fumes, and use gloves to keep your hands clean.
Essential Paints for Diecast Cars
The type of paint you choose will significantly impact the final look and durability of your custom diecast car. Several types of paints are suitable for diecast models, each with its own advantages and disadvantages. The choice often comes down to personal preference, the desired finish, and the level of experience. Consider the drying time, durability, and ease of use when making your selection.
Acrylic Paints
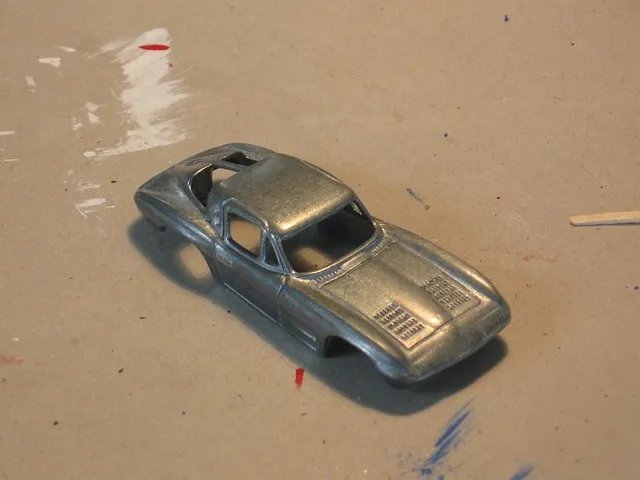
Acrylic paints are water-based, making them easy to clean up and relatively safe to use. They dry quickly and are available in a wide range of colors. Acrylics are a good choice for beginners due to their ease of use. However, they are generally not as durable as other paint types and may require a clear coat for protection. They are also prone to chipping if not properly applied or handled, making proper preparation crucial. For best results, use acrylic paints specifically designed for modeling, as they are formulated to adhere well to plastic and metal surfaces. Acrylic paints offer versatility in application, suitable for airbrushing or brush painting, and provide excellent blending capabilities.
Enamel Paints
Enamel paints are oil-based and known for their durability and glossy finish. They offer excellent coverage and are resistant to scratches and chips. However, enamels take longer to dry than acrylics and require solvents for cleanup. Enamel paints tend to have strong fumes and require good ventilation when used. They are best applied with an airbrush for a smooth, even finish. Enamel paints are also suitable for brush painting, but they can leave brush strokes if not applied correctly. They often require multiple thin coats to achieve the desired look. Because of their durability, enamels are a good choice for models that will be handled frequently. It’s important to use appropriate thinners and cleaners specific to enamel paints.
Lacquer Paints
Lacquer paints are solvent-based and known for their fast drying times and extremely smooth, durable finishes. They are popular among experienced modelers who desire a professional-looking result. However, lacquers have strong fumes and require specialized safety precautions, including a respirator. They are also more sensitive to temperature and humidity during application. Lacquers provide excellent color depth and gloss, making them ideal for replicating realistic car finishes. Due to their fast drying time, they are best applied with an airbrush to avoid streaks and runs. Lacquer paints demand precise application techniques and are unforgiving of errors. Always wear appropriate personal protective equipment, and work in a well-ventilated area when using them.
Required Tools for Diecast Painting
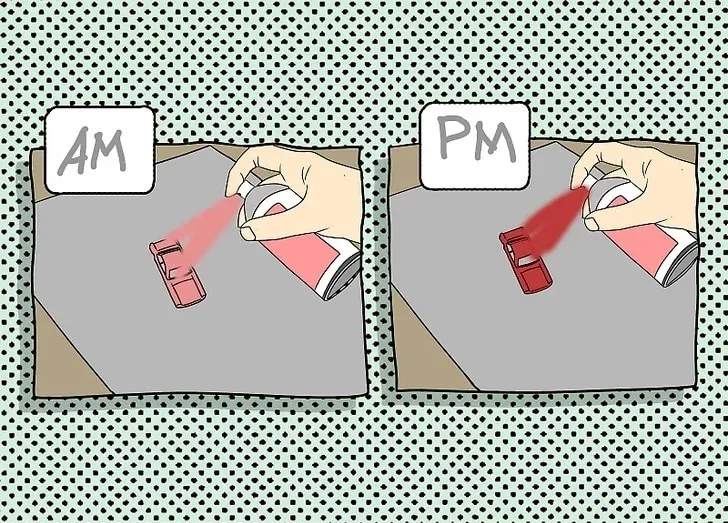
Beyond paints, you will also need tools to apply the paint and prepare the surface. Your tool selection should be based on your personal style and available budget. While the basic tools for getting started with custom paint are not that expensive, more advanced tools like airbrushes may require a greater investment. Make sure you choose quality tools as these will aid in your projects.
Airbrush and Compressor
An airbrush is the most common tool for applying paint to diecast cars. It allows for a smooth, even finish that is difficult to achieve with a brush. A compressor is needed to supply air to the airbrush. Choose an airbrush with a fine nozzle for detailed work and a compressor with adjustable pressure. The cost of an airbrush kit will vary depending on the features and quality. Consider starting with a basic, beginner-friendly airbrush kit and upgrading as your skills progress. The airbrush allows for precise control over paint application, producing professional-looking results. Proper maintenance and cleaning of the airbrush are essential to keep it functioning correctly. Choose a compressor with a moisture trap to prevent water from contaminating your paint.
Sandpaper and Abrasives
Sandpaper is essential for preparing the surface of the diecast car. You’ll need a variety of grits, from coarse to fine, to remove imperfections and create a smooth surface. Wet sanding is recommended to prevent clogging the sandpaper and to achieve a finer finish. Start with coarser grits to remove old paint and imperfections, and then gradually move to finer grits to smooth the surface. Always sand in the same direction to avoid swirl marks. Using wet sanding with water helps reduce dust and keeps the sandpaper clean. A sanding stick can be useful for accessing hard-to-reach areas. Consider using a tack cloth to remove dust particles after sanding.
Primer and Sealer
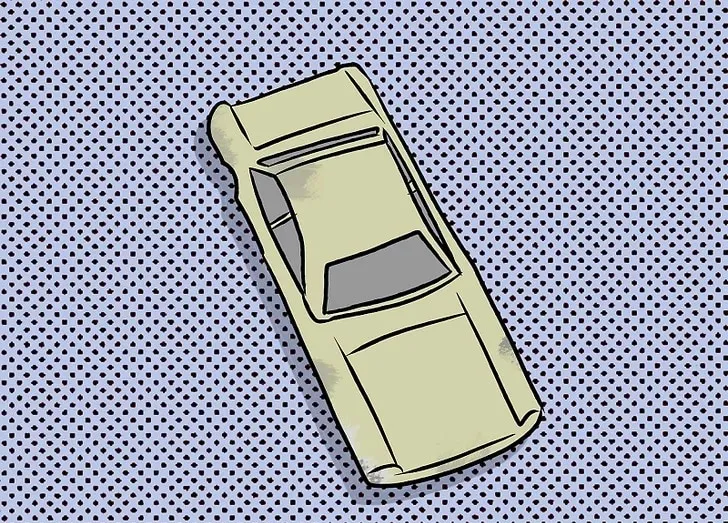
Primer creates a base for the paint, improves adhesion, and helps to even out the surface. Primer also provides a uniform color, which helps the topcoat paint to appear correctly. Sealers can further enhance the paint’s appearance and protect the finish. Choose a primer specifically designed for use with diecast models. Apply thin, even coats of primer, allowing each coat to dry completely before applying the next. Use a grey or white primer for most colors, and a black primer for darker colors. Always check the primer for any imperfections before applying the topcoat. Sealers add an extra layer of protection against UV light and other environmental factors. Primer is crucial for achieving a long-lasting and professional paint job.
Preparing Your Diecast Car for Painting
Proper preparation is the most crucial step in custom painting diecast cars. Taking the time to prepare the surface correctly will make all the difference in the final result. This involves disassembling the car, cleaning it, sanding the surface, and priming it. Skipping any of these steps can lead to a subpar paint job. Ensure you take your time and pay attention to detail throughout the preparation process.
Disassembly of the Diecast Car
Before you start painting, you’ll need to disassemble the diecast car. This allows you to paint each part separately and achieve a more professional finish. Use small screwdrivers and other tools to carefully remove the wheels, chassis, windows, and any other parts that are removable. Take photos of the car before disassembly so that you can easily reassemble it later. Store the parts in separate containers to avoid losing them. Be careful not to damage the parts during disassembly. Some diecast cars are glued together, so you might need to use a hobby knife to gently pry them apart.
Cleaning the Diecast Car
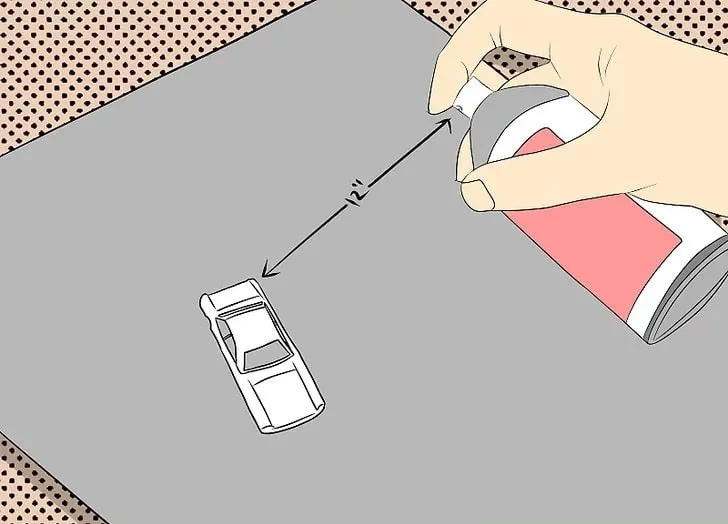
After disassembly, thoroughly clean the diecast car to remove any dirt, grease, or oil. Use warm, soapy water and a soft brush to scrub the surface. Rinse the car completely and let it dry. This step is crucial for ensuring that the paint adheres properly. If any stubborn residue remains, you can use a degreaser. Make sure to rinse off the degreaser thoroughly after cleaning. Cleaning ensures the surface is ready for sanding and priming. A clean surface ensures a good paint bond and prevents imperfections.
Sanding the Surface
Sanding is an essential step in preparing the surface for painting. It removes any imperfections, scratches, and old paint. Start with a coarse grit sandpaper and gradually move to finer grits. Sand the entire surface of the car, paying close attention to details and corners. Wet sanding is recommended to prevent clogging and achieve a smoother finish. Use a sanding block to keep the sanding surface flat. Be careful not to sand through to the bare metal. Proper sanding is critical for achieving a smooth finish. After sanding, clean off any sanding residue with a tack cloth to prepare for priming.
Priming the Diecast Car
Priming is the final step in preparing the surface for painting. It provides a base for the paint, improves adhesion, and helps even out the surface. Apply thin, even coats of primer, allowing each coat to dry completely before applying the next. Use a primer specifically designed for use with diecast models. Apply the primer in a well-ventilated area and wear a respirator. Avoid applying too much primer, as this can lead to runs and drips. Once the primer has dried, inspect the surface for any imperfections and address them before moving on to the next step. Primer creates a uniform surface and ensures the paint adheres correctly, resulting in a professional finish.
Painting Your Diecast Car Step by Step
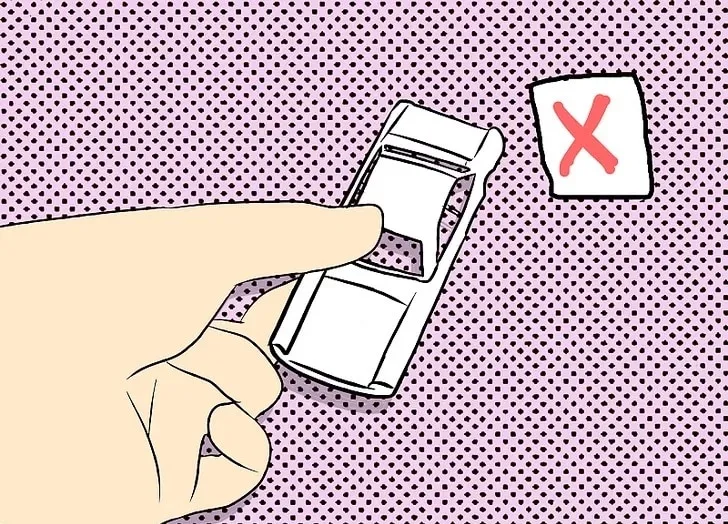
With the car properly prepared, you’re now ready to start painting. This section will cover the key steps involved in applying the base coat, decals, and clear coat. Take your time, use thin coats, and let each coat dry completely before applying the next. The quality of your paint job will depend on your patience and attention to detail. Remember that the secret to a good paint job is multiple thin coats rather than one thick coat. Always test your paint on a piece of scrap plastic or metal before applying it to the model.
Applying the Base Coat
The base coat is the main color of your diecast car. Apply thin, even coats of paint, allowing each coat to dry completely before applying the next. Use an airbrush for a smooth, professional finish. Hold the airbrush a few inches from the surface and move it back and forth in a steady, even motion. Avoid applying too much paint at once, as this can lead to runs and drips. If you’re using multiple colors, apply the lighter colors first. Let the base coat dry completely before applying any decals. Multiple thin coats are always better than one thick coat. Ensure the base coat covers the entire surface evenly.
Applying Decals
If you’re adding decals to your diecast car, this is the time to do it. Carefully cut out the decals from their sheet and apply them to the model. Use a decal setting solution to help the decals conform to the surface of the car. Gently press the decals down with a soft cloth or cotton swab to remove any air bubbles. Allow the decals to dry completely before applying the clear coat. Decals can add significant detail and realism to your model. Take your time applying the decals to ensure they are positioned correctly and adhere well. Properly applied decals significantly enhance the aesthetic appeal.
Applying the Clear Coat
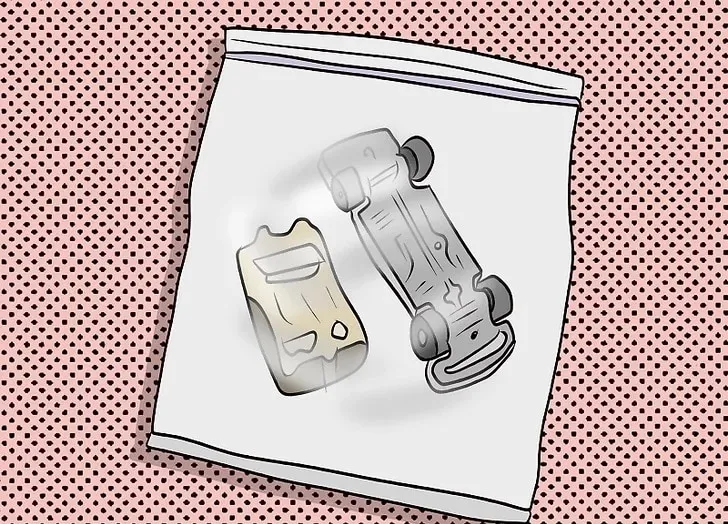
The clear coat protects the base coat and decals and gives the car a glossy finish. Apply thin, even coats of clear coat, allowing each coat to dry completely before applying the next. Use an airbrush for a smooth, professional finish. Avoid applying too much clear coat at once, as this can lead to runs and drips. Allow the clear coat to dry completely before moving on to the next step. The clear coat protects the paint from scratches, UV rays, and other environmental factors. Multiple thin coats provide better protection and a more even finish. Properly applied clear coat adds depth and enhances the overall appearance of the model.
Polishing and Finishing Touches
After the clear coat has dried completely, you can start polishing and adding the finishing touches. This section covers buffing, polishing, and reassembling the car. Taking your time and paying attention to detail will help you achieve a professional-looking finish. The final touches are what will turn your custom paint job into a masterpiece. This is the last step where you bring all of your effort together.
Buffing and Polishing
Buffing and polishing removes any imperfections and gives the car a smooth, glossy finish. Use a polishing compound and a soft cloth or buffing pad. Start with a coarser compound and gradually move to finer compounds. Buff the entire surface of the car, paying close attention to details and corners. Remove any excess compound with a clean cloth. Polishing enhances the shine and gives the model a professional look. Proper polishing will remove any slight imperfections in the clear coat. Take your time during the polishing process to achieve a perfect finish. Ensure the model is completely clean after polishing.
Reassembly and Final Details
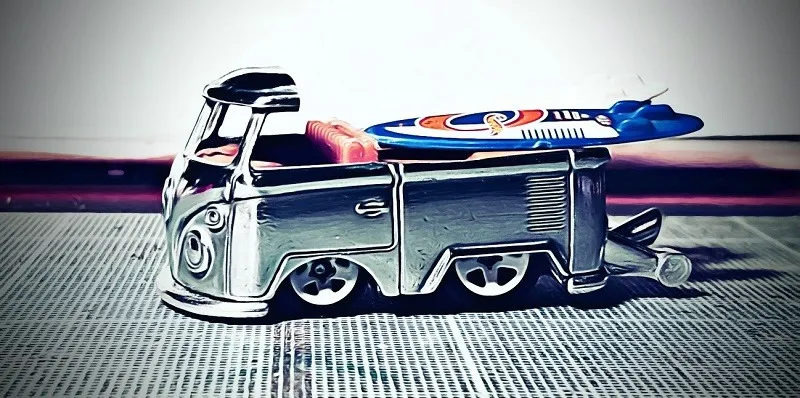
Once the polishing is complete, reassemble the diecast car. Carefully reattach the wheels, chassis, windows, and any other parts that you removed during disassembly. Use the photos you took earlier as a guide. Add any final details, such as mirrors, door handles, and badges. Inspect the car closely for any imperfections and touch them up as needed. Reassembly is the final step in the process. Ensure every piece is installed securely. Inspect the final result to ensure everything is perfect. Your custom-painted diecast car is now ready to display and enjoy. Congratulations on completing your custom paint job!
Custom painting diecast cars is a rewarding hobby that combines creativity with technical skill. By following these steps and practicing your techniques, you can transform ordinary models into stunning works of art. Remember to always prioritize safety, take your time, and enjoy the process. With patience and dedication, you can achieve amazing results and build a collection of unique and personalized diecast cars. Keep practicing, experimenting with different techniques, and most importantly, have fun!
