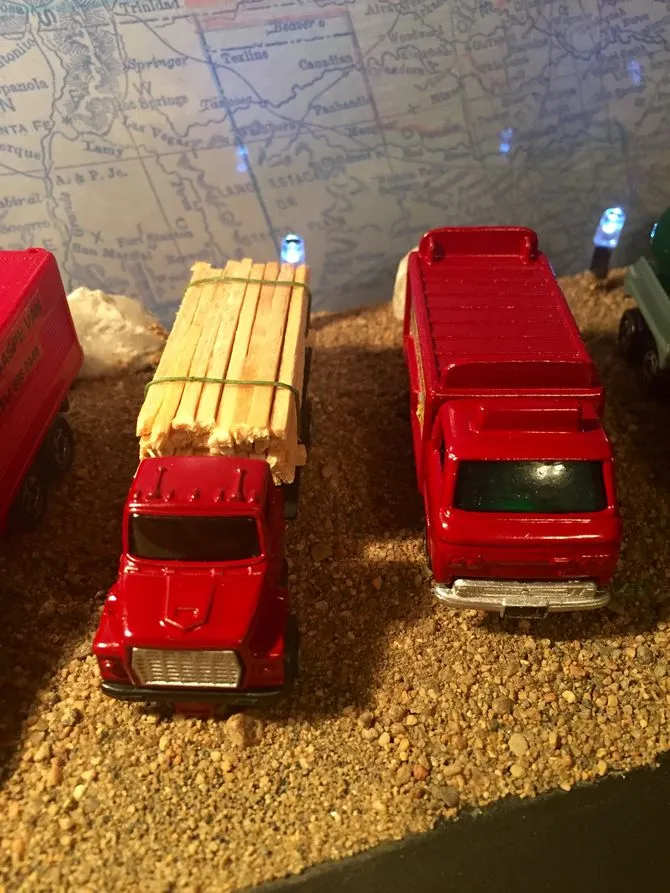
Prep Your Diecast Car for Painting
Before you even think about picking up a paintbrush, proper preparation is key to achieving a professional-looking paint job on your diecast car. Rushing this step can lead to peeling paint, uneven surfaces, and a generally disappointing result. Taking your time here ensures that the paint adheres properly, and the final product reflects your dedication and craftsmanship. This initial phase sets the foundation for all the work that follows, so it’s crucial to get it right. With careful attention to detail in the preparation stages, your diecast car will have a smooth, flawless finish.
Disassemble the Diecast Car
The first step in preparing your diecast car is disassembling it. This allows you to paint each component separately, leading to a much cleaner and more professional finish. Carefully remove all parts such as wheels, windows, interior pieces, and any other removable components. Take photos of the car before disassembly to serve as a reference during reassembly. Store all the small parts in a labeled container to prevent them from getting lost. Using the right tools, such as small screwdrivers and tweezers, makes this process easier. Avoid using excessive force when disassembling the model to prevent damage. Careful disassembly is the foundation for a beautiful end product.
Remove Old Paint
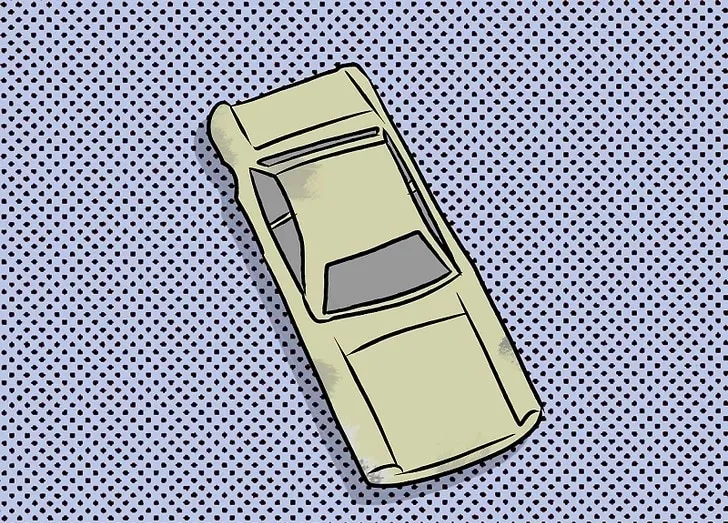
With the car disassembled, the next task is removing the old paint. There are several methods to do this, depending on the original paint type and your preference. Chemical strippers are effective but require careful handling and ventilation. Follow the manufacturer’s instructions precisely and wear appropriate safety gear, including gloves and eye protection. Another option is to gently sand the old paint off with fine-grit sandpaper, taking care not to damage the underlying metal. Consider using a combination of methods for difficult areas. The goal is to remove all traces of the original paint to create a clean surface for the new paint to adhere to. This is a labor-intensive step, but the results are well worth the effort.
Clean and Degrease the Surface
Once the old paint is removed, thoroughly clean and degrease the diecast car’s surface. Use a mild dish soap and water solution to remove any remaining residue from the stripping or sanding process. Rinse the parts thoroughly and allow them to dry completely. After washing, wipe down all surfaces with a degreasing agent, such as isopropyl alcohol, to remove any oils or contaminants. This crucial step ensures that the primer adheres properly, preventing bubbling or peeling. Ensure the area is dust-free during the cleaning process. Allow the car to dry completely before moving on to the next step, as any moisture can compromise the paint job. This meticulous preparation directly contributes to the final paint’s quality.
Gather Your Painting Supplies
Having the right supplies is essential for a successful paint job. This involves a range of items, from paints and primers to tools and safety equipment. Investing in high-quality materials will make the process easier and the results more professional. Making a checklist of the supplies you will need will minimize any disruptions during the painting process. This helps ensure that you can focus on applying your skills to create an excellent finish. Consider the specific techniques you want to use and choose the supplies accordingly. The right tools and materials are critical to achieving the quality you desire, turning your vision into reality.
Types of Paints for Diecast Cars
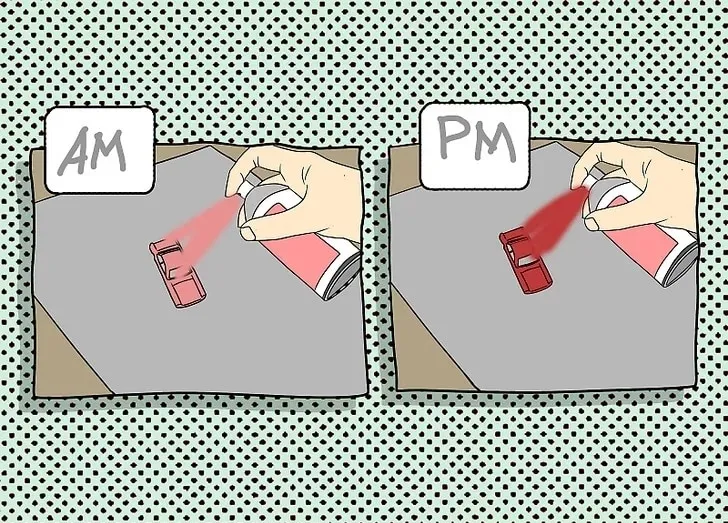
Choosing the correct paint type is important for achieving a durable and visually appealing finish. Acrylic paints are water-based, easy to use, and ideal for beginners, and offer a good balance between ease of application and durability. Enamel paints, while more durable, require longer drying times and can be trickier to work with. Lacquer paints dry quickly but require extra care during application due to their strong solvents. For diecast models, hobby-specific paints are generally recommended. They are formulated to adhere well to metal and provide a smooth finish. Consider the desired finish, durability, and your skill level when selecting paint. Experimenting with different paint types will help you find your favorite. Make sure you choose paints that are specifically designed for use on metal surfaces.
Essential Tools for Painting
Equipping yourself with the right tools is vital for a professional finish. An airbrush is a great choice for applying paint evenly, but spray cans can also provide good results. A well-ventilated area or a spray booth is essential to protect yourself from paint fumes. Fine-grit sandpaper is useful for smoothing surfaces and removing imperfections. Primer is a crucial step in the painting process. Masking tape is essential for protecting areas you don’t want to paint. Detail brushes are useful for applying intricate details and touching up small areas. Invest in quality brushes to ensure the best results. Safety glasses and a respirator are important for protecting yourself from harmful fumes. Your choice of tools will directly influence the ease of painting your diecast car.
The Painting Process [5 Steps]
The painting process involves several crucial steps. Applying a primer coat, base coat, decals, and a clear coat all contribute to the final result. Each stage requires attention to detail and patience. Taking the time to do each step correctly will contribute to the overall quality of your work. Ensure each layer dries completely before proceeding to the next, as this is vital for achieving a smooth, durable finish. Take the time to research and practice different techniques for each step to improve your results. Careful execution during each step will transform your diecast car from a blank canvas into a work of art. The following steps provide a detailed guide to achieving a professional finish.
Apply the Primer Coat
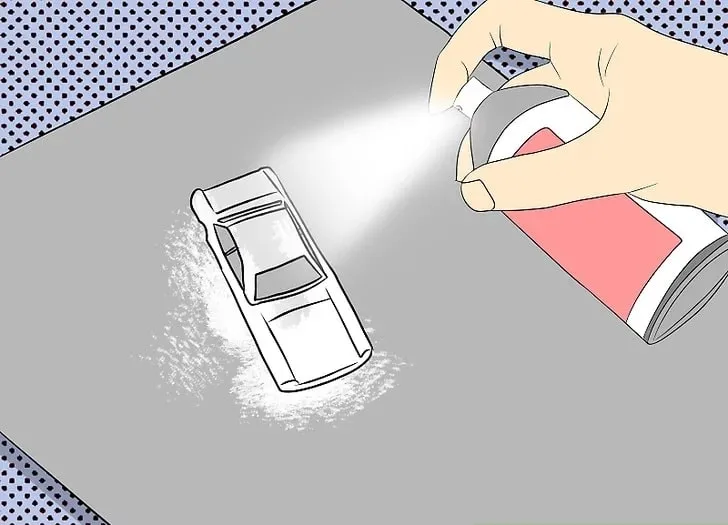
The primer coat is the foundation of a good paint job. Apply a thin, even coat of primer to the entire car surface. This provides a bonding layer for the base coat and helps to fill in any minor imperfections. Use multiple thin coats, allowing each to dry completely before applying the next. Avoid applying a thick coat of primer, as this can lead to runs and drips. Lightly sand the primer with fine-grit sandpaper to smooth any imperfections before applying the base coat. Primer is an essential step to achieving a smooth, even surface. Proper application of the primer ensures that the subsequent coats of paint adhere correctly. Allow the primer to cure completely before moving onto the next step in the painting process.
Apply Base Coat
Once the primer is dry and sanded, it’s time to apply the base coat, which is the primary color of your car. Apply several thin, even coats, allowing each to dry completely before applying the next. The number of coats required may depend on the paint and the color you’re using. Aim for consistent coverage without runs or drips. If using an airbrush, maintain a consistent distance and speed. If using spray cans, move the can in a smooth, sweeping motion. The base coat is what defines the look of your model. Patience and careful application are key to achieving a professional-looking base coat. Apply the base coat in a well-ventilated area to avoid inhaling paint fumes. With practice, you can achieve a flawless base coat.
Apply Decals
After the base coat has completely dried, it’s time to apply the decals. Carefully cut out each decal from the sheet and soak it in water to release it from the backing. Slide the decal onto the model and position it as desired. Use a soft cloth or cotton swab to remove any air bubbles or excess water. Once all the decals are applied, let them dry completely before moving on to the next step. Decals add detail and realism to your diecast car. Using decal setting solutions can help the decals conform to the shape of the model, and decal solvents can help them settle into the paint. Take your time, and handle the decals carefully to avoid tearing them. Applying decals correctly is essential for an attractive final product.
Apply Clear Coat
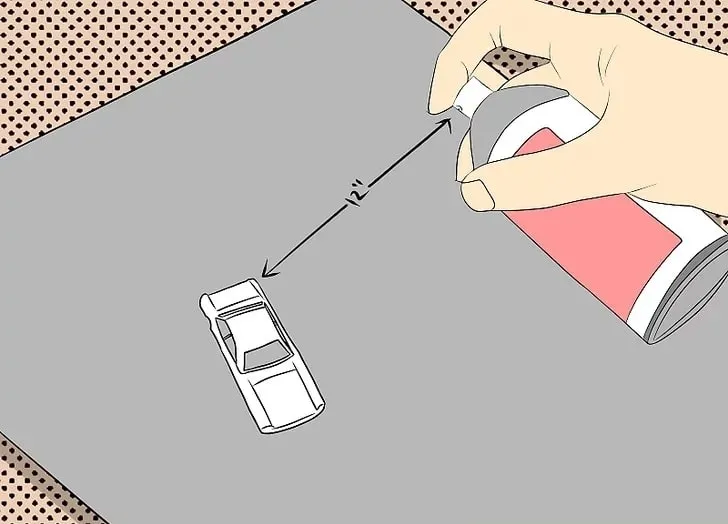
The clear coat protects the base coat and decals, providing a glossy, durable finish. Apply several thin coats of clear coat, allowing each to dry completely before applying the next. Avoid applying a thick coat, which can lead to runs or drips. The clear coat enhances the appearance and protects the paint from scratches and UV damage. Applying the clear coat in a dust-free environment is ideal to avoid imperfections. Consider using a UV-resistant clear coat for added protection. Let the clear coat cure completely before reassembling your car. The clear coat is the finishing touch that gives your diecast car a professional appearance. Proper clear coating will give your model a glossy, durable finish.
Reassemble Your Painted Diecast Car
Once the clear coat has fully cured, it’s time to reassemble your diecast car. Carefully reattach all the previously removed components, such as the wheels, windows, and interior pieces. Refer to the photos you took during disassembly to ensure everything goes back in its correct place. Use the correct tools and avoid forcing parts together, as this could damage your paint job. Take your time and be patient. The reassembly step is the final chance to ensure that your finished diecast model looks its best. Ensure all parts fit correctly and that no damage occurs during reassembly. Proper reassembly completes the transformation of your diecast car.
Final Touches and Detailing
After reassembly, it’s time for the final touches and detailing. This may include applying additional decals, adding small details like chrome trim or headlights, and polishing the clear coat to achieve a perfect shine. Inspect your work closely and make any necessary touch-ups. Use detail brushes for intricate tasks. Consider adding weathering effects or other custom details to give your car a unique look. The final touches are what truly set your model apart. Detailing adds realism and character to the model. Take the time to make it perfect, as this step adds the final professional touch to your project. This final step can be what brings the entire project to life.
